If you’re creating your own Joomla! template from scratch, you’ll want to know how to add in a menu. There’s more than one way to create a menu in Joomla!, but I’m going to walk you through creating a menu off the default and pre-installed Main Menu. One of the first things to understand about menus in Joomla! is that they are considered modules in terms of placement and position, but they are still configured through the Menu Manager. You also have to define and style your menu in CSS and make sure you reference it in both your templateDetails.xml and index.php files.
If you haven’t already read them, you should skim through the previous articles in this series:
Let’s start from the bottom and work our way up. In your templateDetails.xml file, make sure you have <position>user3</position> in your list of <positions>. The user3 position is the default menu position in Joomla!. In your index.php file, create a <div> for user3, something like this should work nicely:
<div id=”user3″><jdoc:include type=”modules” name=”user3″ /></div>
If you’ve been following this series of articles on how to build a Joomla! template from scratch, this is how the template looked before adding in the menu (I’ve added a few more test articles…):

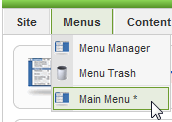
If you haven’t done so already, add a menu item to the Main Menu. Click Menus and then Main Menu*.
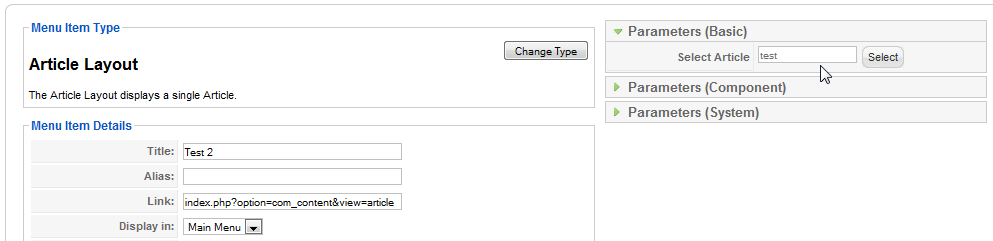
From there, click New  and the Select Menu Item Type screen appears. For the sake of simple testing, choose Articles, Article Layout.

Give the menu item a name in the Title field and then select an article from the Parameters (Basic) box.
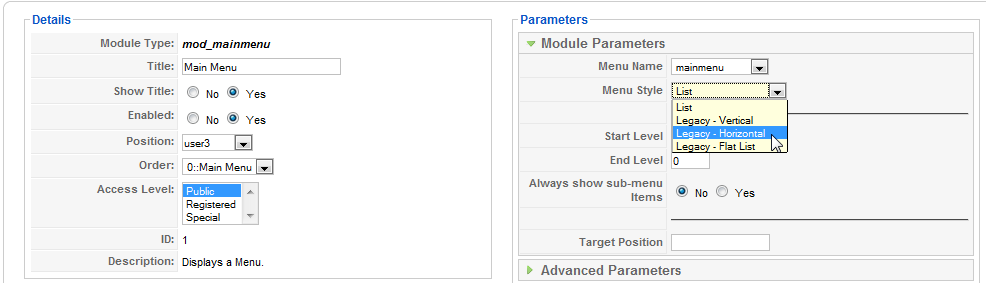
Go ahead and save it and make sure it’s published. Now go into the Module Manager and find the Main Menu module. Make sure it’s in position user3 and that it’s enabled. Go ahead and click Preview and you should see this between the header and other modules:

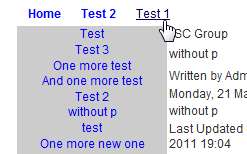
To make this is a horizontal menu instead of a list menu, go back to the module manager. In the Module Parameters box, choose Legacy Horizontal.
Now you see this:
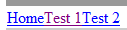
The problem is, the text is all smashed together. It’s time to dig into the CSS. You need to create styles for #user3 and if you haven’t already, you also need to define your link and hover attributes. I figured it was also about time I configured my body style as well. If you only define link and hover, then these styles will not affect the links in the menu assigned to #user3. You have to do this separately.
body {
font-family: Helvetica,Arial,sans-serif;
line-height: 1.3em;
margin: 0px 0px 0px 0px;
font-size: 12px;
color: #333;
}
a:link, a:visited {
text-decoration: none;
font-weight: normal;
color: #00f
}
a:hover {
text-decoration: underline;
font-weight: normal;
color: #004
}
#user3 a {
font-family: Arial, Helvetica, sans-serif;
font-size: 12px;
font-weight: bold;
height: 24px;
line-height: 24px;
padding: 0 10px;
color: #000;
text-decoration: none;
color: #00f
}
#user3 a:hover {
text-decoration: underline;
font-weight: normal;
color: #004
}
At this point, you should have a fairly decent and functional navigational menu.
When you first get started with Joomla!, the menu terminology can be a bit confusing. The Main Menu isn’t really a navigational menu–instead, it’s how the Home page of your site appears. However, you can build a navigational menu off of the Main Menu, which is what this article described how to do. You can create additional menus for your Site Map, Archives, and Best Of or whatever your needs are. Menus of this nature are best used at the bottom of your site.